 PixelVibing
Vibe-Code a Game with Claude Code (and Let AI Make All the Pixel Art)
Vibe coding a game is fast until you need art. Your assistant writes a working platformer in an afternoon, and then everything on screen is a coloured rectangle, because it can write code but it can't draw.
This tutorial connects Claude Code or Codex to PixelVibing so your assistant makes the art as it writes the code: it notices a sprite is missing, generates it in your game's style, and puts it in your project, without stopping to ask you.
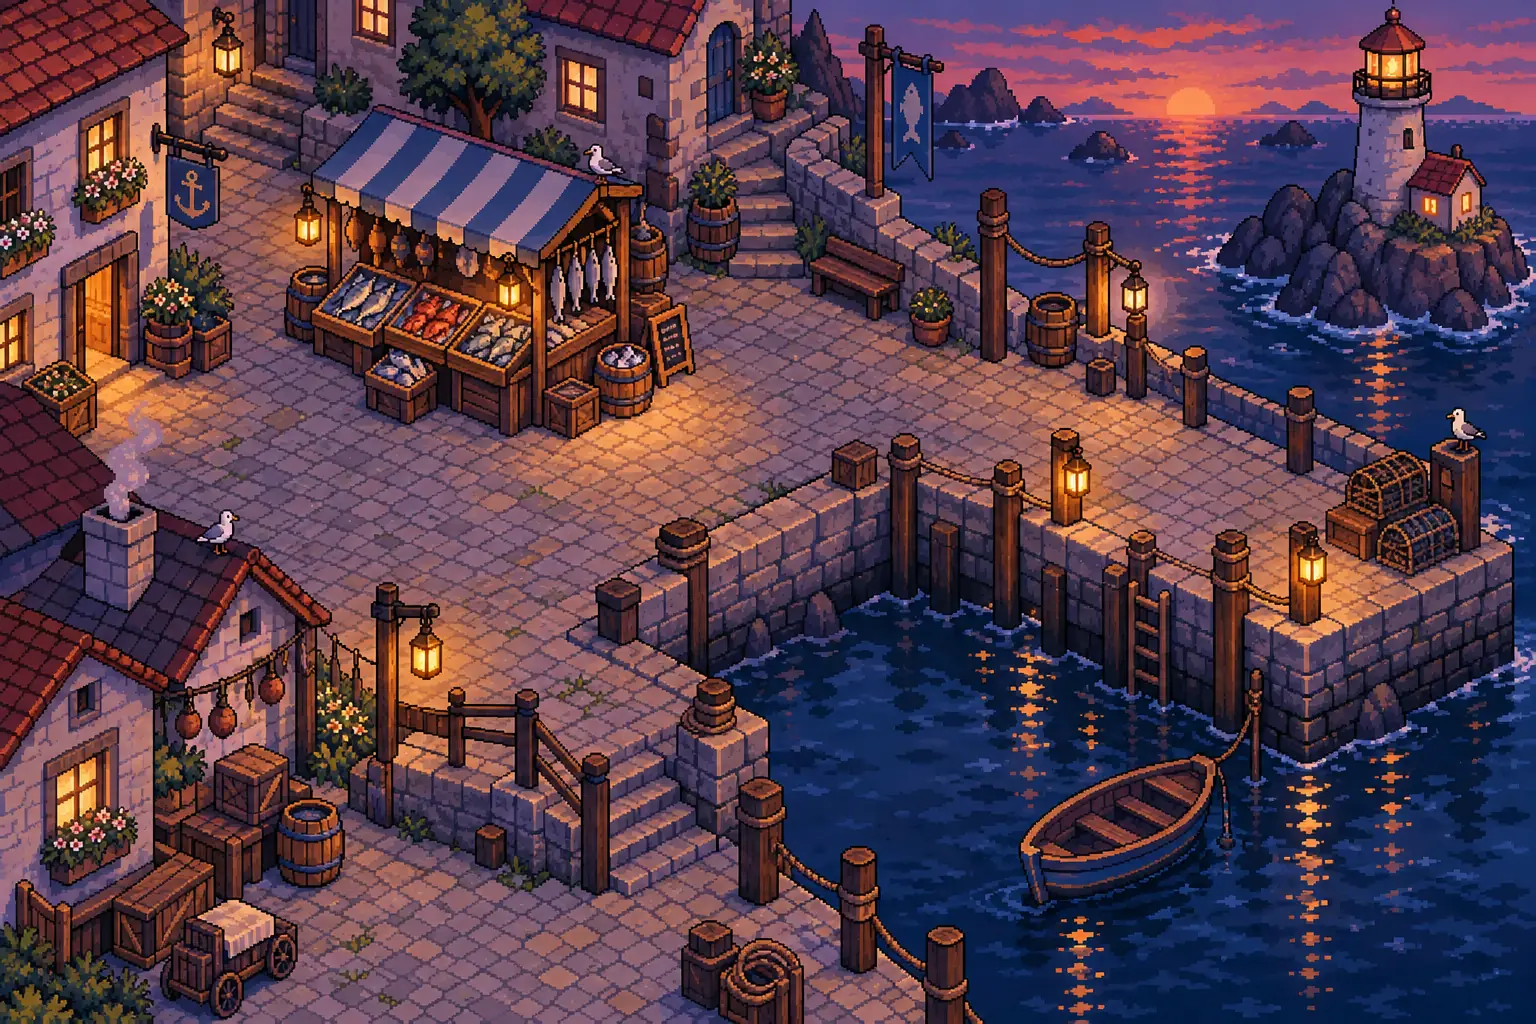
A 6×4-tile level design, generated from "a harbour square at dusk", the kind of asset your assistant can make on its own.
Step 1: Install the CLI and run setup
In your game's folder:
npm install -g @pixelvibing/cli
cd my-game
pixel-vibing-cli setup
Using Codex? Run pixel-vibing-cli setup --harness codex instead.
setup does four things:
- Signs you in in your browser, with no password and no key to paste.
- Links the folder to a PixelVibing project and its style guide.
- Installs the PixelVibing Skills for Claude Code or Codex, which teach your assistant when and how to make art.
- Connects the PixelVibing MCP server, with your token kept out of every file.
Step 2: Just ask
Open your assistant in the folder and ask for a game, not for assets:
Make a cozy harbour fishing game, with all of its art.
Here's what a real session looks like. Your assistant decides each step and runs it:
| What it's doing | What it ran |
|---|---|
| Reading your game's style guide | pixel-vibing-cli guide show |
| Drawing a fish market stall, 2×2 tiles | pixel-vibing-cli generate object --instruction "a market stall selling fresh fish" --size 2x2 --yes |
| Drawing a friendly fox | pixel-vibing-cli generate creature --instruction "a small friendly orange fox" --yes |
| Designing the harbour square | pixel-vibing-cli generate level-design --instruction "a harbour square at dusk" --tiles 6x4 --yes |
| Exporting it all for Phaser | pixel-vibing-cli export phaser |
Every asset is pulled into the project's pixelvibing/ folder, ready for the code that uses it.
Step 3: Keep the style guide true
The style guide is how the tenth sprite still matches the first. It states your camera, palette, outline, shading and scale, and your assistant reads it before every asset. As the game grows (a snowy region, a night level, a new palette), your assistant updates the guide too, so new art follows the new rules.
pixel-vibing-cli guide show
Prefer to wire it yourself? Add the MCP server
No setup to run, three steps:
- Sign in to the web app and create an account token under Account → Account tokens.
- Paste this into your terminal, with your token in place of
YOUR_TOKEN:
claude mcp add --transport http pixelvibing https://mcp.pixelvibing.com --header "Authorization: Bearer YOUR_TOKEN"
- Open Claude Code in your game's folder and ask for your first asset.
Done this way, the token stays in your terminal's history and in Claude Code's settings; pixel-vibing-cli setup keeps it out of both. You can revoke a token any time.
What does it cost?
Every generation spends credits, and the command prints the cost and your balance before it starts. Without --yes it asks first, and with nobody at the terminal it starts nothing, so an assistant can't run up a bill behind your back. A good habit: tell your assistant to say what a batch will cost before starting it.
Tips for vibe coding with AI art
- Describe the game, not the asset list. Your assistant works out what's missing.
- Let it export.
pixel-vibing-cli export <pixi|phaser|godot>writes sheets your engine loads directly. - Fine-tune by hand when you want to. Every asset opens in the Editor; see How to edit AI pixel art in the PixelVibing Editor.
FAQ
Which assistants work? Claude Code and Codex, with Skills installed by setup; other assistants can use the MCP server.
Do I need API keys? No. You sign in; there's no key to find, paste or pay for.
Can I still generate by hand? Yes, in the web app and the Editor, on the same project.
Next: your game needs a HUD. Read How to make pixel art game UI: a HUD and icons with AI.